




How to Add Captions to Instagram Reels (Native vs Burned-In)
Learn how to add captions to Instagram Reels using the native Captions sticker or a burned-in video file. Compare style control, cross-posting, and when each method is enough.
Caption your next video free

Sara Malik
How to Add Captions to Instagram Reels (Native vs Burned-In)
To add captions to Instagram Reels, you can either use Instagram's built-in Captions sticker or burn styled captions into the video before you upload. The sticker is fastest inside the app. A burned-in file is better when you need a custom look or the same captions on TikTok and Shorts.
Most Reels are watched with sound off at least part of the time. Captions carry the spoken line when audio cannot. The method you pick depends on how much style control you need and whether this clip will live only on Instagram.
Pick a method before you start
| Method | Best when | Limits |
|---|---|---|
| Instagram Captions sticker | You stay inside Instagram and want a quick pass | Fewer styles; look is tied to the post |
| Burned-in captions in the file | You want brand colors, karaoke highlights, or cross-posting | You caption before upload |
| Accessibility closed captions | You want viewer-controlled captions on supported posts | Not a brand style layer |
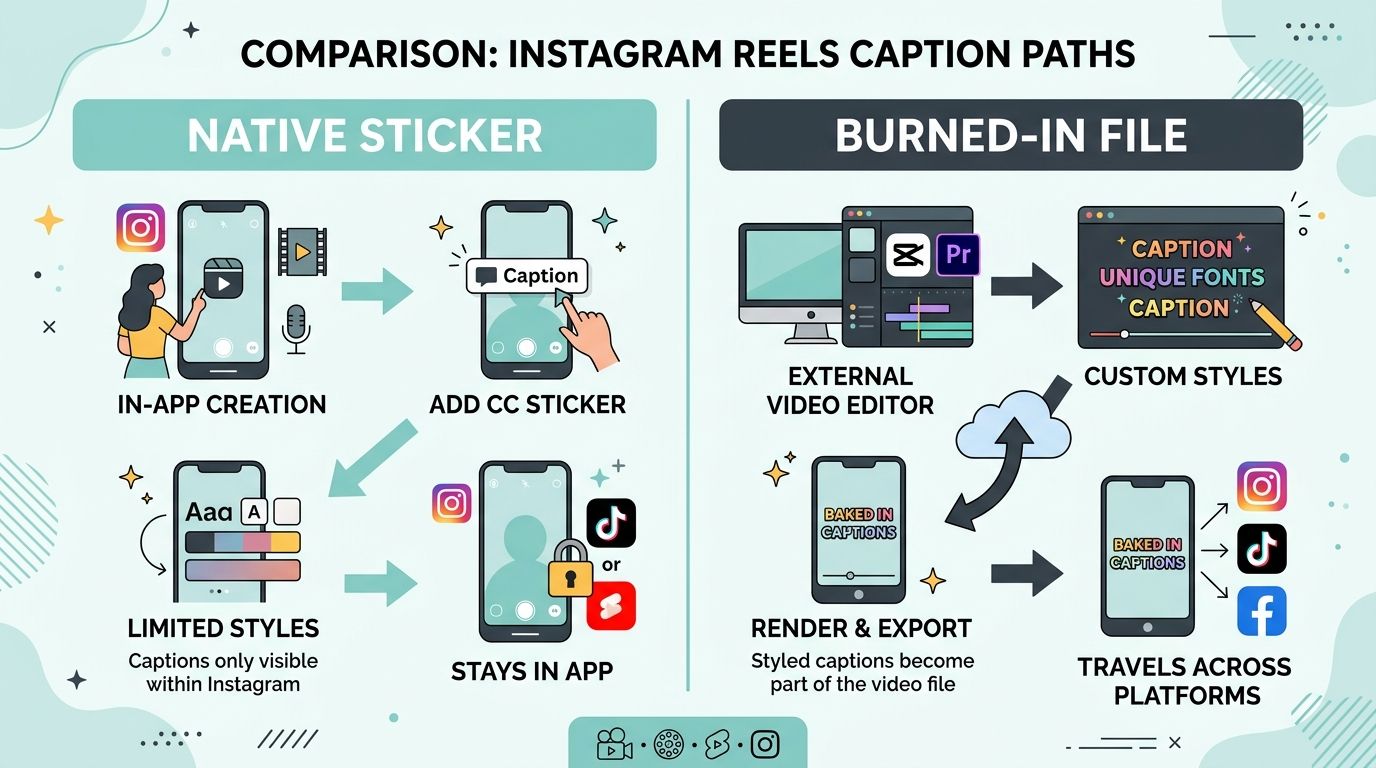
If you only post once on Instagram and the sticker styles are fine, stay in-app. If the same talking clip will also go to TikTok or YouTube Shorts, burn captions into the file so the look stays consistent. For a deeper decision on app captions versus captions saved in the file, see app captions vs captions in your video file.
Method 1: Instagram's Captions sticker
Instagram can transcribe speech and place editable captions on the Reel before you share.
- Create or upload your Reel as usual and open the edit screen.
- Tap the sticker icon, then choose Captions.
- Wait for Instagram to generate the text from your audio.
- Tap the caption text to fix names, product words, and timing mistakes.
- Pick a sticker style, move the block clear of faces and UI, then continue to share.
Meta's help docs also cover closed captions that viewers can turn on or off for Reels and videos. That setting is useful for accessibility, but it is not the same as a designed caption style baked into your creative. Read Instagram's caption help.
When the sticker is enough
- The Reel is Instagram-only.
- You need something readable today, not a brand system.
- The speech is clear and the transcript needs only light edits.
When to skip the sticker
- You need word-by-word highlight styles.
- You reuse one master file across platforms.
- Your brand requires a fixed font, color, or placement every time.
Method 2: Burn captions into the video first
Burned-in captions are drawn into the video frames. Viewers cannot turn them off, and the style travels with the file.
- Finish the cut you intend to post. Caption the final audio, not a rough draft.
- Upload the clip to a caption tool and choose the spoken language (or auto detect when available).
- Review the transcript. Fix names, numbers, slang, and brand terms before you style anything.
- Keep lines short. On a phone, one or two short lines beat a dense paragraph.
- Place captions inside safe areas so platform buttons do not cover them.
- Export a vertical video with captions visible, then upload that file to Instagram as a normal Reel.
A browser caption workflow is useful when the finished clip already lives on your laptop. AutoCaption can generate word-timed captions, let you edit and style them, and export a burned-in file plus SRT or VTT when you also need a separate subtitle track. Start from the homepage upload if you want to try that path on a short clip.
For a broader short-form workflow outside Instagram-only tips, use how to add auto captions to short-form video.
Style choices that keep Reels readable
Readable captions beat decorative ones. High contrast helps on busy backgrounds. Avoid covering mouths, product labels, or the lower corners where Instagram UI sits.
If you are choosing between clean, bold, boxed, or karaoke looks, the style comparison in best caption styles for Reels and TikTok is a useful next read.
Common mistakes
- Publishing without reading the transcript. Automatic speech recognition still mishears names.
- Putting captions too low. Instagram UI can hide the last line.
- Using only native captions, then downloading the Reel and expecting the same style on TikTok. Sticker captions do not travel as a portable brand layer.
- Captioning a draft cut, then trimming the video. Timings drift.
- Treating the written post caption (the text under the Reel) as a substitute for on-screen speech captions. They solve different jobs.
A practical default
For one-off Instagram posts with clear speech, use the Captions sticker and proofread once. For anything branded, multi-platform, or style-specific, burn captions into the file before upload. That single choice removes most caption surprises after publishing.
If you want a free pass on a short talking clip with burn-in export, caption a video in the browser and review the words before you export.
Written by
Sara Malik
Creator Education Lead at AutoCaption. Helps short-form creators ship word-timed captions without a full video editor.
More topics you may like
Auto Captions
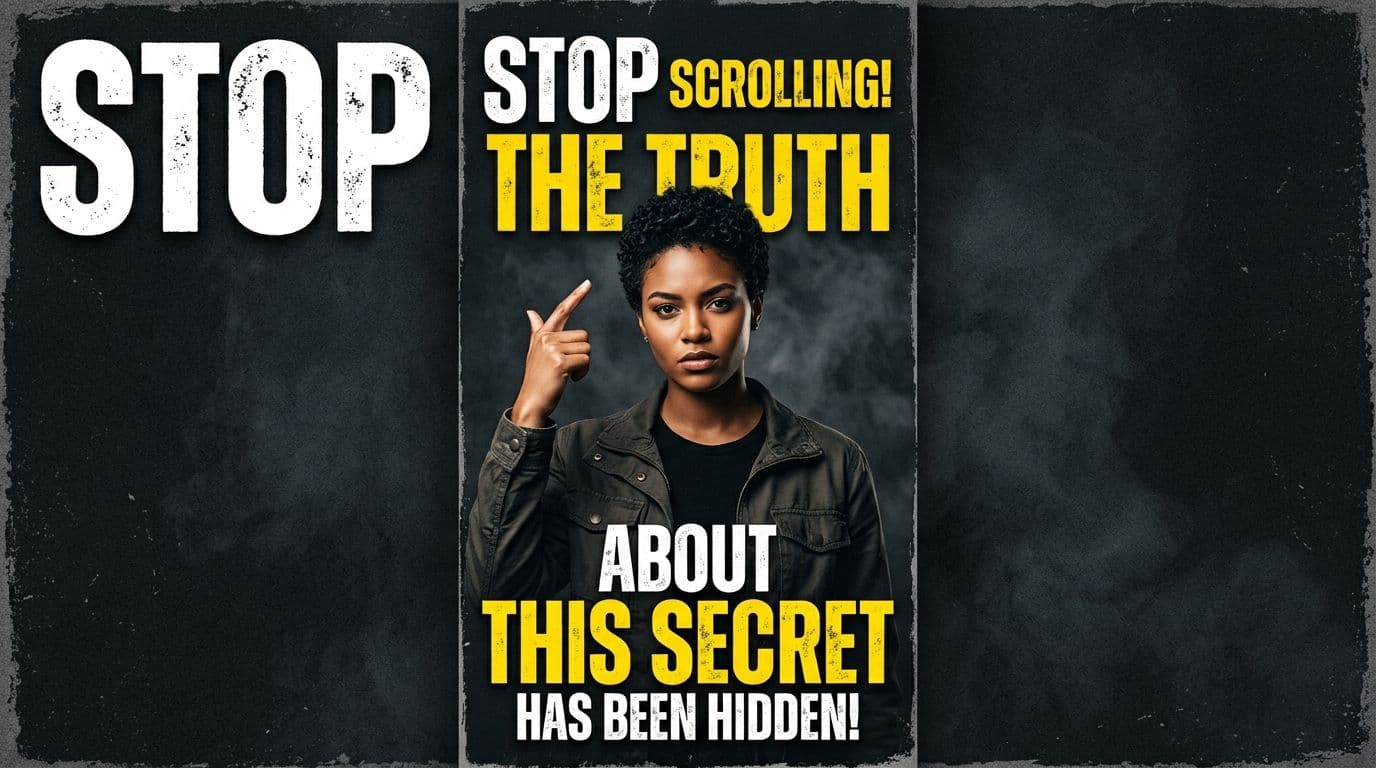
Burn Captions Into YouTube Shorts (When Auto CC Is Not Enough)

Amina Qureshi
Auto Captions
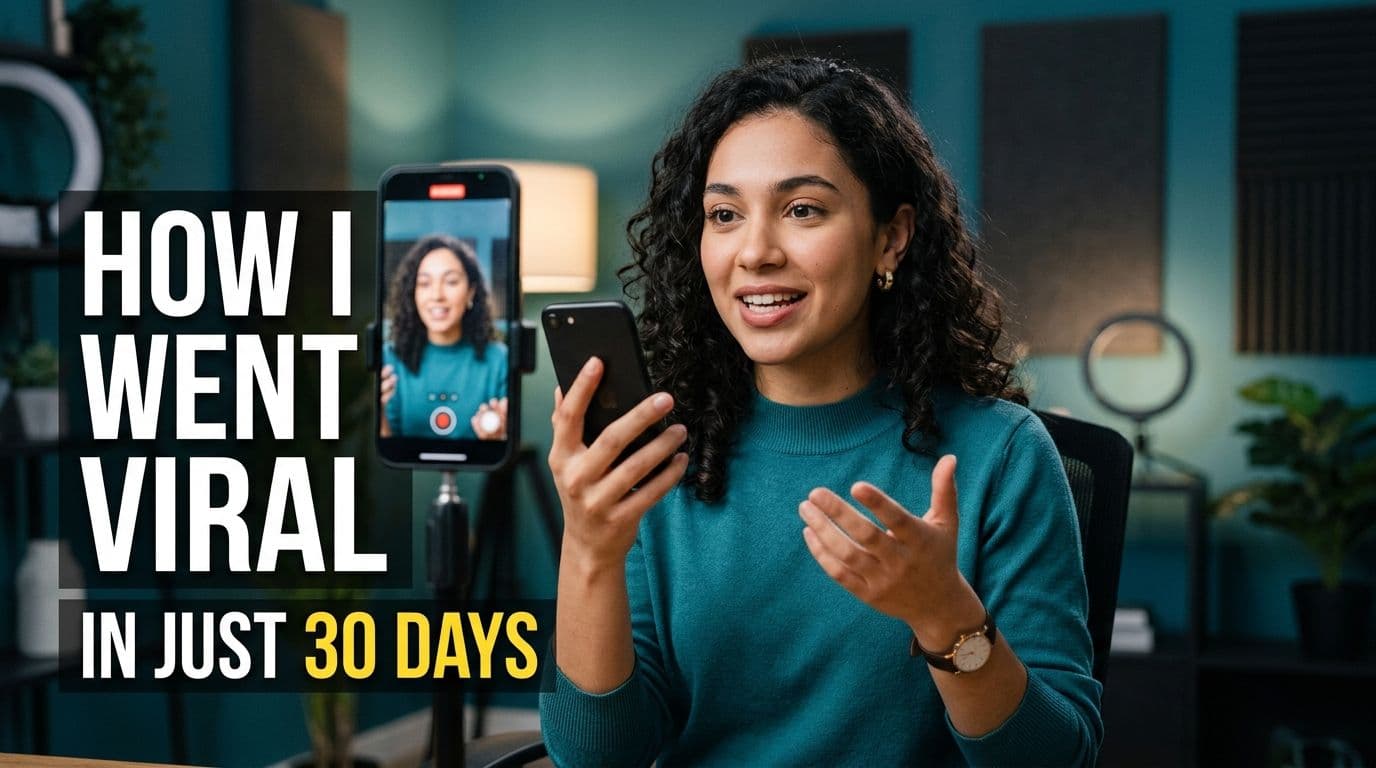
How to Add Captions on TikTok: In-App vs Burned Into the File

Omar Raza

Auto Captions
Captions vs Subtitles vs Transcripts: What Creators Need
Sara Malik

Auto Captions
SRT vs VTT: Which Subtitle Format Should You Use?
Sara Malik

Auto Captions
How to Create an SRT File From a Video
Sara Malik